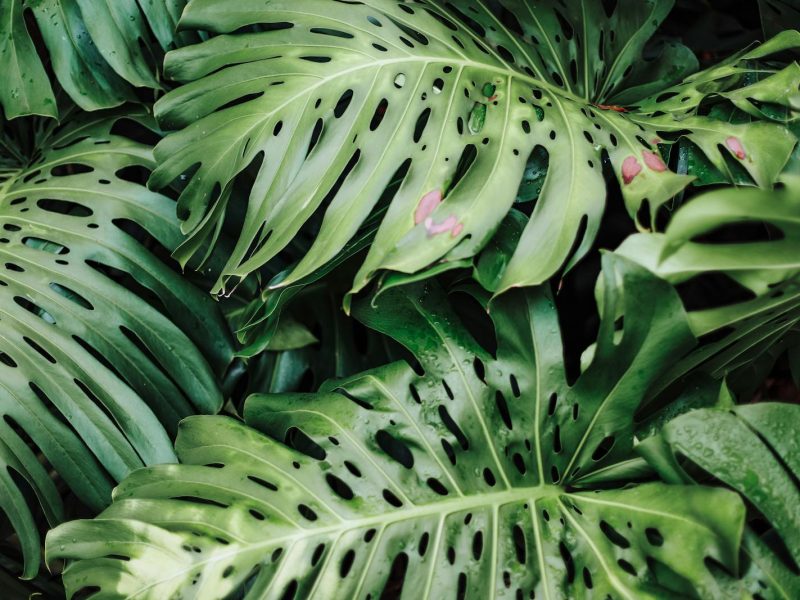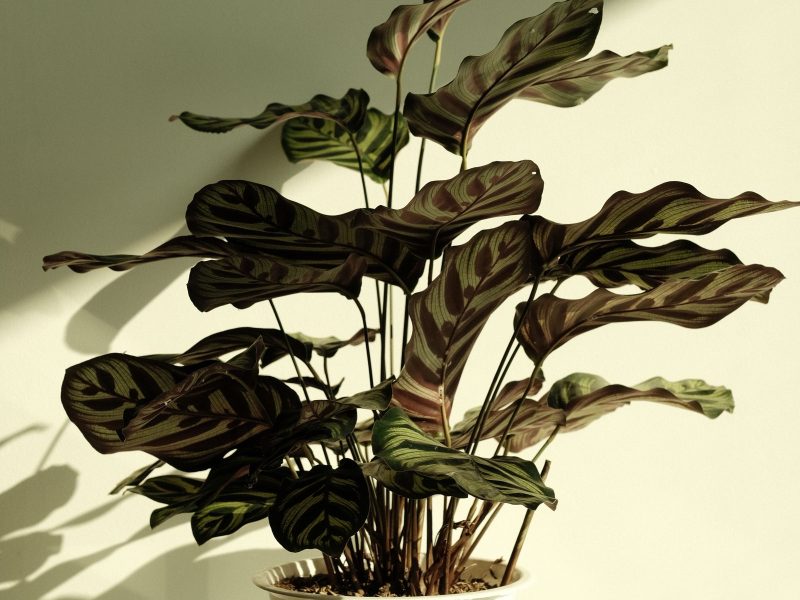
My first attempt at photographing a variegated Monstera looked like a hostage proof-of-life photo: harsh overhead ceiling light, a cluttered kitchen counter, and the pale sectors of the leaf blown out to paper white. The plant deserved better. Over the last several seasons of chasing decent frames of Anthurium clarinervium, Philodendron gloriosum, and a Calathea white fusion that refuses to sit still, I have built a quiet home routine that turns a spare corner into something close to an editorial set. None of it requires studio strobes or a spare bedroom.
What follows is the actual workflow I use, including the numbers I have measured and the mistakes that taught me each one. If you have ever tried to photograph a leaf and wondered why the color looks off or the veins go flat, most of the answers are in the light, the background, and the angle. Gear matters least.
Why plant photos usually fail at home
The three failures I see most often in collector groups are the same three I made for years. First, the light source is too small and too high, so leaves gain hard specular hotspots that flatten the vein structure. Second, the background competes: a bookshelf, a radiator, or a patterned rug pulls the eye off the plant. Third, the camera is set to auto white balance under mixed light (warm bulb plus cool window), which turns green foliage into a muddy olive.
Diagnosing which of the three is dragging a shot down is the first useful skill. I now do it before I lift the camera: I look at the plant from where the lens will sit, not from where I am standing, and ask what a stranger would notice first. If the answer is anything other than the leaf, I move something.
The light I actually use
Ninety percent of the photos I post are taken with a single north-facing window between roughly 9am and 11am, or the equivalent late afternoon slot on the opposite side of the flat. North light is the working photographer’s cliche for a reason: it stays diffuse, it does not swing color temperature as fast as direct sun, and it wraps around a leaf without carving hotspots. My meter reads about 800 to 1500 lux at the window sill on an overcast morning, which is dim by houseplant standards but plenty for a modern sensor.
When the day is glaring, I tape a single layer of white ripstop nylon across the glass. It cuts intensity by roughly one stop and softens the edge of every shadow. A cheap shower curtain works. On dark winter mornings I supplement with a 45 watt bi-color LED panel bounced off a foam board about 90cm from the plant, gelled to daylight (5600K) to match the window. Mixing the two without gelling produces the split warm-cool cast that ruins amateur shots.
For fill on the shadow side I use a piece of white foam core about 60 by 90 centimeters, held roughly 30 to 50cm from the plant. It brings shadow detail up by about a stop and stops the darker sectors of a variegated leaf from crushing to black. A crumpled sheet of aluminum foil taped to cardboard does the same job with more sparkle if I want a wetter, glossier look on Anthurium foliage.
Backgrounds and the paint I settled on
After trying pinned fabric, printed vinyl, and a stretched linen tablecloth, I gave up and painted a 100 by 140cm scrap of MDF with two coats of Farrow and Ball’s Down Pipe, a deep warm grey. The board leans against the wall behind whichever plant I am shooting, and the matte finish absorbs stray light so the leaf sits on it like a print on a page. A second board painted in a chalky off-white handles brighter, airier compositions.
Cheap alternatives work too. A roll of matte photo backdrop paper in charcoal or slate runs under twenty dollars and lasts a year of gentle use. Avoid anything glossy: reflections from behind the plant read as smudges in the frame. Avoid pure black unless you know how to light it, because it eats detail on the dark side of the leaf. The RHS gallery of AGM foliage plants is a useful reference for how deep-tone backgrounds render specific species in editorial settings.
Camera settings I default to
I shoot with a used mirrorless body and a 50mm equivalent lens, though a modern phone in RAW mode does 80 percent of the same job. My defaults, refined over hundreds of frames:
- Manual mode, aperture between f/4 and f/5.6 for a single leaf, f/8 to f/11 for a full plant portrait where I want the pot in focus too.
- ISO 200 to 800 depending on window brightness, keeping shutter speed above 1/125s if the plant is handheld or 1/30s on a tripod.
- White balance set manually to 5200K in daylight, or a custom reading off a grey card on cloudy days. Never auto.
- Exposure compensation dialed down by roughly two thirds of a stop to protect highlight detail on pale variegation.
- Focus point placed on the vein junction closest to camera, not on the leaf tip, so the structure that gives the plant character stays sharp.
The one accessory that changed my results more than any lens upgrade was a small tabletop tripod with a ball head. Handheld at 1/60s I was throwing away a third of my frames to micro-blur; on the tripod I keep almost all of them and can stop down for more depth of field without pushing ISO.
Staging: the part most guides skip
A plant is not a still life until you decide what the frame is about. Before I press the shutter I pick one of three intents: the whole habit of the plant, a single hero leaf, or a texture study of veining or variegation. Each intent has its own camera distance and its own trim list.
For habit shots I remove every leaf that is torn, curling, or pointing away from camera in a way that reads as a hole. I do not prune, I just tuck problem leaves behind healthier ones with a length of soft plant tie. For hero-leaf shots I mist the leaf lightly about ten minutes before shooting so a few beads of water remain: too wet reads as neglect, dry reads as flat. For texture studies I raise the plant on a stack of books until the leaf sits perpendicular to the lens, which is the only angle at which vein depth reads honestly.
The pot matters more than most collectors admit. A shiny glazed pot bounces light back into the underside of the lowest leaves and blows the exposure. I keep three plain terracotta pots and one matte black ceramic on a shelf near the window and swap the plant into whichever suits the shot. The plant lives in a nursery pot inside; nothing gets repotted for a photograph.
Comparing three home setups
| Setup | Approx cost | Best for | Main limitation |
|---|---|---|---|
| Phone plus window | 0 | Quick catalog shots, social posts | Weak in low light, limited depth control |
| Used mirrorless plus 50mm plus foam board | 250-400 | Hero leaves, editorial portraits | Learning curve on manual settings |
| Mirrorless plus LED panel plus painted backdrop | 500-700 | Winter shoots, consistent color | Space to store the gear year round |
My honest recommendation for anyone starting: spend the first month with only a phone, a window, and a piece of grey card stock from an art shop. If you still want more control after 30 shoots, then buy a used body. The Library of Congress conservation notes on handling delicate subjects under light are a good reminder that intensity, not gear, does most of the work.
Editing without overcooking
I shoot RAW and edit in a free copy of RawTherapee, though any editor will do. My edit is deliberately shallow: white balance to grey card, exposure adjusted so the brightest healthy leaf area sits around 85 percent brightness, a gentle S curve for contrast, and a mild reduction of green saturation because sensors tend to push foliage into a cartoon shade. I never sharpen aggressively, because sharpening halos read as cheap.
The one edit that changed my feed most was learning to desaturate the background by about 15 percent while leaving the plant alone. It mimics the shallow-depth look of a much longer lens and gives the leaf a print-like presence. Peer-reviewed color perception research on figure-ground contrast covers why the trick works, if you enjoy that rabbit hole.
A checklist I run before every shoot
- Wipe both sides of the target leaf with a barely damp microfiber cloth, then let it dry for five minutes.
- Rotate the plant so the most symmetrical face points at the window, not at the camera.
- Place the backdrop at least 40cm behind the plant so it stays out of the same focal plane.
- Set white balance manually, not on auto.
- Check the corners of the frame for stray cables, mugs, or dropped leaves before pressing the shutter.
- Take one frame, review it at 100 percent zoom on the camera screen, and adjust before shooting the next twenty.
Frequently asked questions
Do I need a macro lens for leaf close-ups?
Not for most collector plants. A standard 50mm lens focuses closely enough to fill the frame with a mature Anthurium or Philodendron leaf. A true macro lens only earns its price if you want to document leaf hairs, thrips damage, or the sporangia on a fern. Extension tubes at about 25 dollars a set give you 80 percent of the macro look for a fraction of the outlay.
Why do my greens look yellow or muddy?
Almost always a white balance problem caused by mixed light. Turn off every artificial bulb in the room, or gel your LEDs to match the window. Then set white balance manually using a grey card or the custom preset. Sensors handle green channels less accurately than red or blue, so a small nudge of hue toward cyan in editing usually restores natural color.
How do I photograph a plant that is too tall to fit in the window?
Move the light instead of the plant. A single LED panel bounced off a large piece of white card 1.5m from the plant produces the same soft directional quality as a window, at any height. I use this trick for my climbing Monstera standleyana, which lives on a moss pole taller than the window itself.
Is a phone camera really good enough for editorial shots?
Yes, for online use. Recent phone sensors capture 12 bit RAW files with enough latitude for confident editing. The limits show up in low light and in shallow depth of field, both of which you can work around with a tripod and careful staging. Print a phone shot at A3 and the compromises become visible; view it at social media size and few people can tell.
What time of day gives the best window light?
For a north-facing window, any time between about two hours after sunrise and two hours before sunset works. For east or west windows the usable window shrinks to roughly 90 minutes on either side of solar noon, when direct sun is not raking across the sill. South-facing windows are hardest because direct sun requires diffusion nearly all day; a sheer white curtain solves it.
The plants themselves do not care whether you photograph them. But the practice of setting them up carefully, cleaning a leaf, and looking at the light has quietly made me a better grower. I notice a spider mite two weeks earlier now because I have looked at every leaf through a lens. That is the accidental reward of taking the pictures seriously.
Frequently asked questions
What is slow plant living?
It is the practice of caring for plants on their own terms — not forcing growth or optimizing for maximum output, but accepting their natural pace and developing consistent attention.
How is this different from regular plant care?
Regular plant care is often task-oriented and outcome-focused. Slow plant living is practice-oriented and relationship-focused. Both can produce healthy plants, but the experience and meaning differ.
Will this approach mean my plants grow slower?
Not necessarily slower — but you stop trying to push beyond what plants want. The growth pace becomes the plant's natural pace, which is usually fine and sustainable.
Can I combine slow plant living with serious collecting?
Yes. The two are compatible. Serious collectors often practice slow plant living because it produces better outcomes than aggressive optimization.