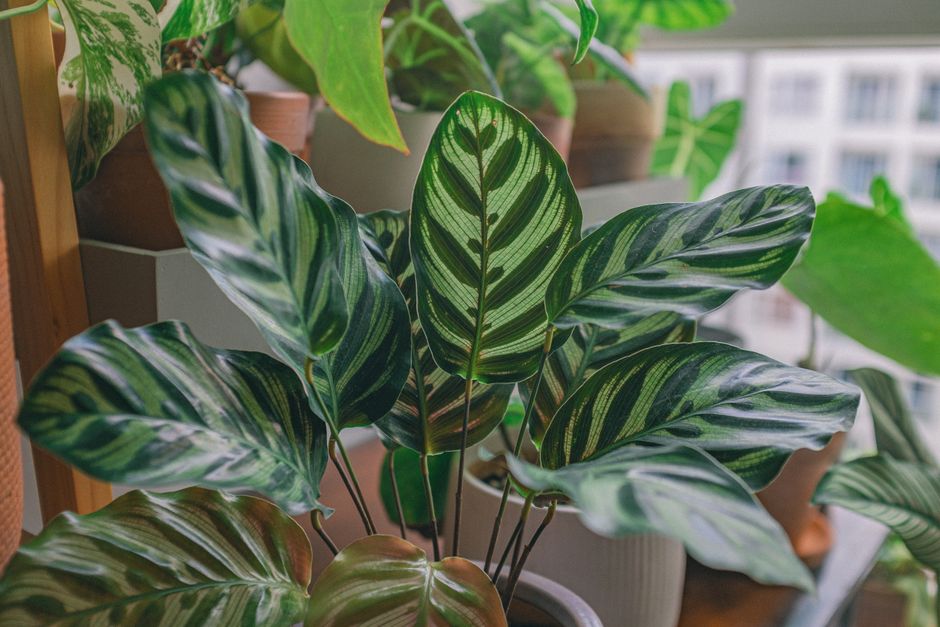
Every collector I know has stood over a calathea at some point, holding a leaf between two fingers, wondering why the edge feels like burnt paper while the rest of the plant looks fine. Crispy leaf edges are the single most common message my plants send me, and for years I read that message wrong. I misted more. I moved things around. I fussed. What finally worked was slowing down and treating the symptom as a data point rather than an emergency.
The tricky part is that a brown, brittle margin can come from at least six different problems, and several of them look nearly identical at first glance. This walkthrough is the diagnostic sequence I now use before I touch a watering can, worked out over roughly a decade of keeping aroids, marantaceae, and a handful of demanding ferns in a Midwest apartment that runs bone dry from November through March.
What a crispy edge is actually telling you
A leaf margin turns crispy when the cells along the outer rim die faster than the plant can replace them. That death is almost always a water problem, but “water problem” is broader than most guides admit. It can mean too little water reaching the leaf edge, too much salt accumulated at the leaf edge, root damage that prevents water uptake, or air so dry that transpiration outpaces delivery. The location of the browning, the texture of the dead tissue, and the pattern across the plant tell you which of those is happening.
I keep a small notebook by my grow shelf and log three things whenever I see new crispy edges: the ambient relative humidity, the days since last watering, and whether the browning is on new or mature leaves. Those three data points solve about eighty percent of cases before I get to any complicated testing.
The six causes, ranked by how often I actually see them
Order matters here. When I started keeping rare foliage plants I assumed low humidity was the answer to everything, and I wasted a lot of money on misting bottles that did essentially nothing. In practice the ranking looks more like this in a heated indoor environment.
| Cause | Typical humidity | Leaf pattern | Texture of dead tissue |
|---|---|---|---|
| Chronic underwatering | Any | Older leaves first, tip and edge together | Papery, curled |
| Salt or fluoride buildup | Any | Bottom leaves, sharp brown band | Hard, thin, dark brown |
| Root rot from overwatering | Any | Random leaves, edges and centers | Soft first, then crispy |
| Low humidity (real cases) | Below 40 percent | New leaves, edges only | Light tan, thin |
| Heat or light scorch | Any | Sun-facing side only | Bleached then brown |
| Fertilizer burn | Any | All leaves, uniform margin | Dark brown, dry crust |
Once you match the pattern on the plant in front of you to a row in that table, the fix becomes obvious. The rest of this article is really just the detailed version of each row.
The diagnostic protocol I run before changing anything
I have a rule I stole from a bench technician friend: do not adjust two variables at once. If you increase humidity, flush the pot, and repot into fresh substrate all in one afternoon, you learn nothing when the plant recovers. Here is the sequence I actually follow.
- Lift the pot and feel the weight. Compare to how it felt the day after watering. A pot noticeably lighter than that baseline is dry through, and the plant has probably been dry for several days.
- Push a wooden skewer to the bottom of the root ball, pull it out, and look at where the moisture line sits. Skewers do not lie the way surface soil does.
- Tip the plant out just enough to see the outer roots. Firm and pale is healthy. Brown, hollow, or slipping-off-in-your-hand is rot.
- Check the pot’s drainage hole and the crust on the soil surface. A white or yellowish crust means minerals have accumulated, and every new watering is concentrating them further.
- Read the humidity from a hygrometer placed at leaf level, not floor level, and note the reading at the driest time of day (usually mid-afternoon with heating on).
- Only after those five checks, decide on a single intervention and give it two full weeks before judging the result.
That two-week wait is the hardest part. New leaves take time to emerge, and the old crispy ones will never heal. You are watching for whether the next leaf to unfurl comes in clean.
Fixing each cause without making it worse
Chronic underwatering
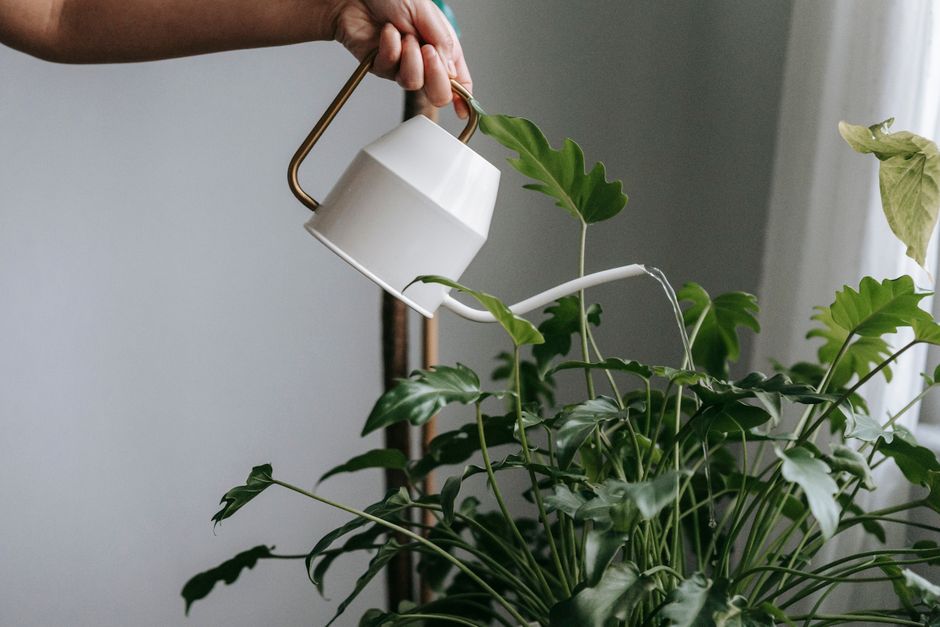
If the skewer comes out bone dry and the pot feels alarmingly light, the roots have probably shrunk away from the sides of the pot, which creates a channel where water pours straight through without wetting anything. Bottom-watering solves this. I set the pot in a basin of room-temperature water for about twenty minutes, until the surface soil is visibly damp, then let it drain fully before it goes back on the shelf. Repeat this correction weekly for a month before deciding the plant needs a smaller pot.
Salt and fluoride buildup
Calatheas, dracaenas, and spider plants are the classic canaries for this one. Tap water in most US cities contains fluoride at roughly 0.7 parts per million, which is fine for humans and cumulatively toxic to sensitive foliage. The University of Minnesota Extension has a clear writeup on this, and their recommendation matches what has worked for me: flush the pot with three times its volume of low-mineral water (distilled, rainwater, or the water from a dehumidifier) every two to three months. I do this in the shower and let the plant drain for an hour before returning it.
Root rot masquerading as dryness
This one fooled me for years. A plant with rotted roots cannot pull water even from soaked soil, so the leaves crisp exactly as they would in a drought. If the skewer is wet but the leaves are dying, unpot the plant, cut away every soft or dark root with sterilized snips, and repot into a coarser substrate than you were using. For most aroids I now mix about 40 percent orchid bark, 30 percent perlite, 20 percent coco coir, and 10 percent worm castings. It drains fast and dries evenly.
Low humidity that is actually low
A hygrometer reading below 40 percent at leaf level in the afternoon is genuinely low for tropical foliage. Misting does almost nothing measurable, as the RHS growing guide notes in its section on humidity. What works is grouping plants together, running a cool-mist humidifier on a timer, or building a simple enclosure from a clear storage bin. In my apartment a 4-liter humidifier keeps a 100 square foot room at about 55 percent through the worst of winter.
Heat and light scorch
South-facing windows in summer will crisp the leaf tissue closest to the glass, and grow lights hung too close will do the same. My rule for LED bar fixtures is a minimum of 30 cm between the light and the top of any leaf, verified with a PAR meter reading of no more than about 200 micromoles per square meter per second at leaf height for most aroids.
Fertilizer burn
If every leaf on the plant is developing a uniform dark brown margin about a week after you fed it, you either fed too concentrated a solution or fed a plant that was already dry. I now dilute liquid fertilizer to a quarter of the label rate and only feed when the substrate is already damp. Once burned, flush the pot as described in the salt section above.
What I keep at hand for margin problems
- A digital hygrometer with a probe I can move around the shelf
- Long wooden skewers for checking moisture at depth
- A gallon jug of distilled water topped up from my dehumidifier
- Sharp bypass snips sterilized with isopropyl before every use
- A cheap kitchen scale for weighing small pots before and after watering
- A notebook logging humidity, watering dates, and leaf observations
None of that is expensive, and together it removes the guesswork that leads to overcorrection. Most crispy edges in my collection now get diagnosed in about ten minutes and corrected with one small change rather than a panicked overhaul.
Frequently asked questions
Should I trim the crispy edges off my leaves?
Cosmetically, yes, and it does not harm the plant if you use clean snips and follow the natural leaf shape. Trim just inside the dead tissue, leaving a thin margin of brown so the cut does not create a new wound in living cells. Do not trim more than about a third of any single leaf, and never remove more than a quarter of the plant’s total foliage at once. The plant needs those leaves to photosynthesize while it grows replacements.
Will crispy edges spread to the rest of the leaf?
Not on their own. Dead tissue does not migrate inward. If you see the brown zone expanding week over week, the underlying cause is still active and you have not fixed the real problem. Rerun the six-step diagnostic and look for a variable you missed, most often a slow root problem or a fertilizer schedule that is too aggressive for the current light level.
Does misting help crispy leaf edges?
Almost never in a measurable way. A mist droplet raises local humidity for perhaps a minute before it evaporates, and heavy misting can actually encourage fungal spotting on velvety leaves like anthurium clarinervium. Invest in a small humidifier or group plants together on a pebble tray instead. Save the mister for cleaning dust off large leaves.
How long before new leaves come in without crispy edges?
Depends on the species, but a good yardstick is two to eight weeks after you correct the underlying cause. Fast growers like philodendrons often push a clean new leaf within a month. Calatheas and anthuriums can take a full quarter to show improvement, especially in winter when growth naturally slows. Judge success by new leaves, not old ones, and be patient with the timeline.
Can hard water alone cause crispy edges?
Yes, particularly for calatheas, marantas, and dracaenas, which are unusually sensitive to fluoride and chlorine. If your tap water tests above 200 ppm total dissolved solids, switch to distilled, rainwater, or reverse-osmosis water for those species. Everything else in the collection will usually tolerate tap water fine as long as you flush the pots quarterly to prevent mineral accumulation.
Frequently asked questions
Can I use my normal room lights as grow lights?
Not usually. Standard incandescent bulbs don't produce enough plant-useful light. Some LED bulbs marketed for plants work. Dedicated grow lights are more effective.
Are aesthetic grow lights as effective as the ugly purple ones?
Yes. Modern full-spectrum white LEDs deliver equivalent or better plant performance with much better appearance.
How do I hide grow light cords?
Cable management strips, conduit, or routing through walls. Many grow lights now have cleaner mounting options. Designer brands often integrate cord management.
Can grow lights be primary room lighting?
Some modern designs work as both grow lighting and room illumination. Pendant lamps with grow bulbs serve both functions.